



Read more


How to Prepare Your Electric Bike for Winter
As autumn fades and temperatures drop, winter brings a fresh set of challenges for e-bike riders: shorter days, icy roads, salted streets, and cold weather that hits lithium batteries hardest. Whether you plan to keep commuting all season long or tuck your e-bike away for a few months, a little winter prep keeps your ride safe, reliable, and extends the life of your expensive components. This guide walks you through everything you need to check before the first frost arrives.
Start with the battery: your highest priority
Lithium-ion e-bike batteries hate extreme cold. Freezing conditions cut real-world range noticeably and can cause permanent degradation if handled incorrectly.
First rule: never charge a cold battery straight after a ride. After coming in from the cold, let it rest indoors for 30–60 minutes until it reaches room temperature before plugging it in. Charging while cold creates extra stress on the internal cells. For daily winter use, don’t fixate on 100% charge every time; top it up to match your planned route. If you’re storing the bike for weeks or months, charge the battery to 50–60%, remove it from the frame, and store it in a dry room between 10°C and 20°C. Check its charge level every month and top it back to that sweet spot if it drains down.
Never leave the battery locked on the bike outside overnight in freezing weather. Even well-built packs lose capacity faster with repeated cold exposure, and you risk connection issues from moisture and frost around the contact pins. Wipe battery terminals dry and clean before reinstalling to avoid corrosion.
Clean, protect, and fight winter corrosion
Road salt, slush, and melting snow are the quiet enemy of e-bikes. Salt eats away at bolts, frame paint, chain, derailleurs, and electrical connectors. Make post-ride cleaning a winter habit.
Use low-pressure warm water and a gentle bike cleaner; avoid blasting water directly into motor housings, display ports, and electrical connectors. Dry every surface thoroughly with a soft cloth immediately. Once dry, lubricate moving parts with winter-grade lubricant — standard chain lube thickens up in cold weather and collects grit faster. Add a thin layer of dielectric grease on electrical connectors to block moisture and salt residue. Give your frame a quick inspection for chips and scratches; touch up damaged paint to stop rust from taking hold.

Tires, brakes and handling for slippery surfaces
Wet leaves, black ice, packed snow and salted asphalt reduce grip dramatically. Start your winter check with tires. Check tread depth and air pressure: cold air shrinks tire pressure, so you’ll need to top it up more often. For regular winter riding on icy routes, consider winter-specific tires with softer cold-resistant rubber and deeper tread. Studded tires are an option for riders who regularly hit icy roads, just check local European road rules before fitting them.
Brakes get tested heavily in winter. Wet, gritty conditions wear brake pads faster and reduce stopping power. Inspect pad thickness, clean rotor surfaces from oil and grime, and test braking gently on damp ground to get used to longer stopping distances. Leave extra space between you and other traffic, and avoid sharp braking or sudden turns on glazed surfaces.
Lights, visibility and winter riding gear
Winter means dark mornings and early sunsets. Visibility is non-negotiable. Upgrade to bright, steady front and rear lights, and keep spare charged power sources handy. Reflective tape on your frame, pedals, bags and clothing adds extra safety for low-light commutes.
For yourself, layer smartly. Windproof, waterproof outer layers block chill and rain, while thermal base layers keep you dry as you pedal. Waterproof gloves, thermal socks and a helmet liner make a huge difference on long rides. Keep your display covered from rain and snow when parked — many riders use simple neoprene display covers to prevent frost and water damage.
Long-term winter storage checklist (if you pause riding)
If you’re not planning to ride for months, follow this simple checklist:
1. Fully clean, dry and lubricate the whole bike
2. Remove battery, store at 50–60% charge indoors
3. Inflate tires to recommended pressure
4. Park the bike on a mat to avoid cold, damp concrete
5. Cover it with a breathable bike cover (avoid airtight plastic traps that trap condensation)
6. Check battery charge monthly

Pick an e-bike built to handle tough winter commutes
Not all e-bikes are equally suited to wet, salty winter city roads. A robust, well-sealed build and stable geometry make winter riding far less stressful.
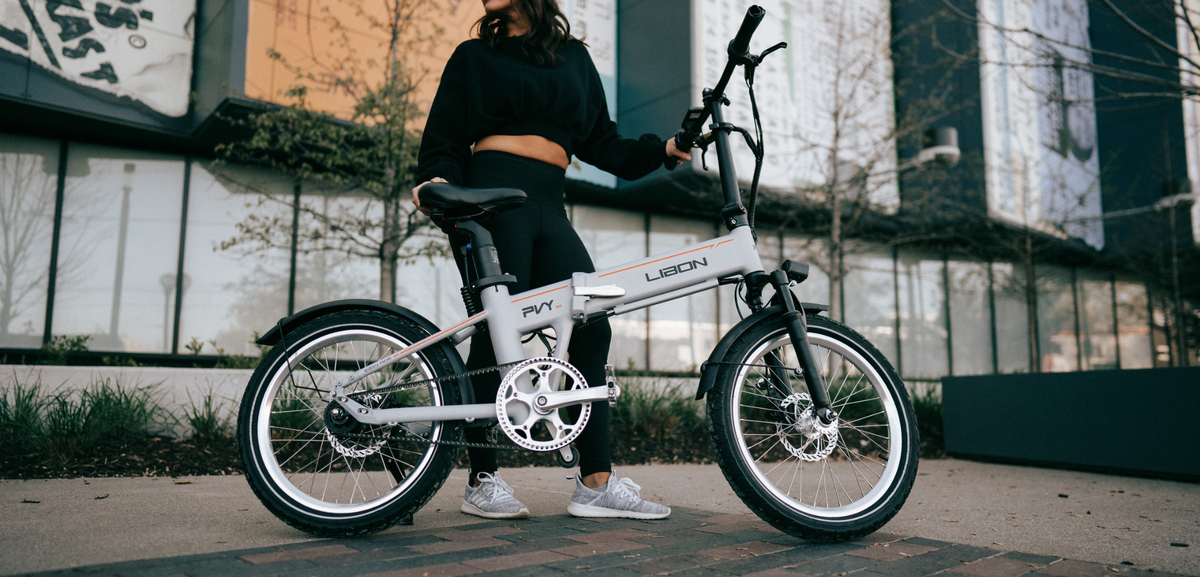
The PVY Z20 PLUS is a great all-round winter commuter. Its compact folding design is easy to bring indoors, so you can detach and store the battery safely without leaving your bike exposed overnight. The sturdy frame and reliable braking system inspire confidence on damp urban roads, and its adaptable setup works for short weekday trips and weekend winter outings alike.
If you want extra stability and comfort for longer winter journeys, the PVY Z20 MAX delivers generous battery capacity, so you still get usable range even when cold weather saps performance. It features reinforced components built to stand up to regular cleaning and exposure to winter grime, with plenty of mounting points for winter accessories like mudguards, luggage racks and extra lighting.
Final thoughts
Winter e-bike prep does not need to be complicated. The biggest wins all come down to consistent battery care, stopping salt corrosion, and prioritising visibility and traction. With these habits, you can keep rolling through the cold months safely, or safely hibernate your bike until spring without costly surprises.
Whether you’re chasing quiet frosty morning rides or beating traffic on dark winter commutes, your e-bike can stay your favourite way to travel — you just need to give it a little winter care first.